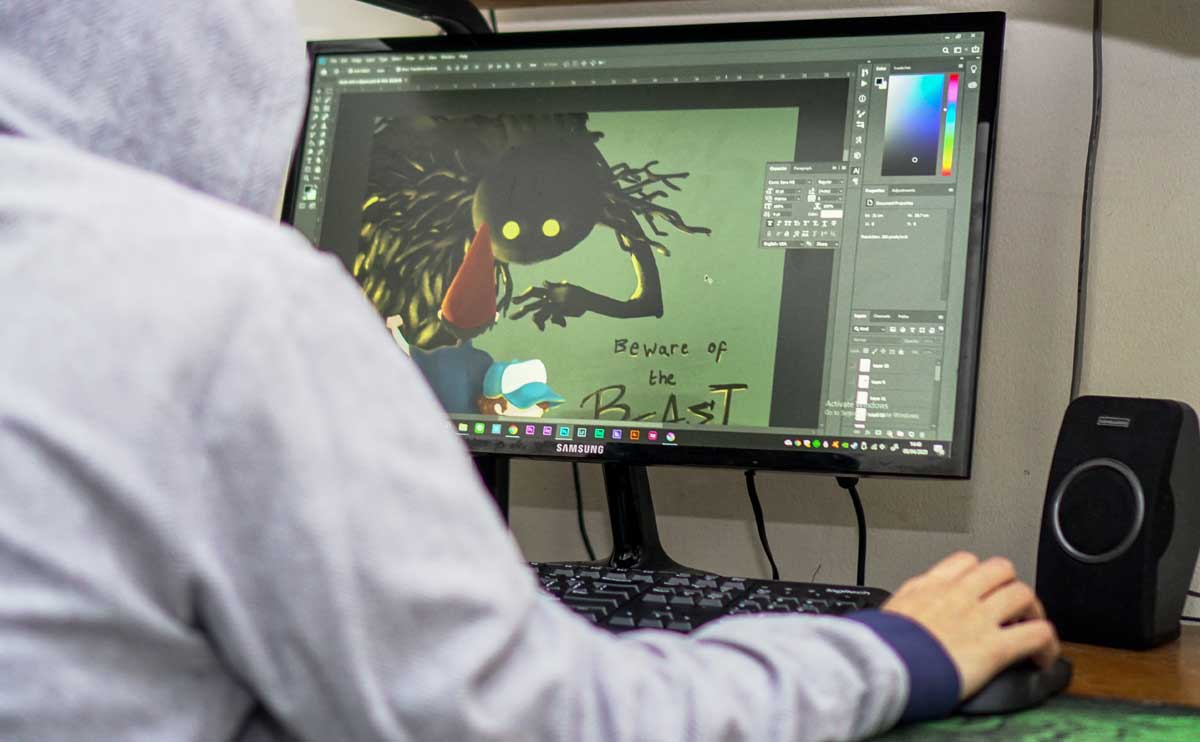
With the advent of graphic and photo design software such as Adobe’s Photoshop, it has become increasingly easier to create realistic looking (ie. more “hand-drawn”) cartoons and animations. We’re going to show you a couple of techniques you can use to convert any photo into a cartoonized version. In other words, how to turn a photo into a cartoon.
How To Cartoonize A Photo
This tutorial is specific to Photoshop, but if you look closely at what you’re doing, you’ll find similar functionality in other photo retouching software such as Corel’s Paint Shop Pro (which is a lot more affordable than Photoshop), and the open source alternative GIMP. We compare these photo editing solutions here.
Cartoonizing A Photo In Photoshop
We’re going to go over two different methods you can use to cartoonize a photo using Photoshop. These particular examples utilize Photoshop CS 2, but older as well as newer versions should have similar functionality. The first method is very simple, but doesn’t quite produce as accurate a cartoon effect as the more involved step-by-step method. Either way, you can decide for yourself. Try the easy version first and see what you think – it works better on some photos than others. Then go for the more in-depth tutorial and see if it makes a difference. We also show you how to create a macro (batch action) that will automatically cartoonize a photo by carrying out all your commands at once.
The Original
First we’re going to show you the original photo we plan on using. You’ll then be able to compare the results of our cartoonizing methods below.

Cartoonizing A Photo – The Easy Way
The quick and easy way to cartoonize a photo is to simply load up your image in Photoshop (version CS 2 in this example), and then run the following filter:
- Filter > Blur > Gaussian Blur > Set the radius to 3.0 pixels. This will produce a very blurry image.
- Next browse to Edit > Fade Gaussian Blur. You’ll want to set the mode to darken. Additionally, you can play around with the opacity to see what the resulting image will look like. Feel free to play around with the mode as well, you may not get a cartoony look with some of the other modes, but the results can nevertheless be quite cool.
Gaussian Blur Result
Here’s how this particular photo looks using the easier Gaussian Blur cartooning method. Note that the effect will work better with some photos, and worse with others.

Cartoonizing A Photo – The Harder (And Usually Better) Way
You’ll see that while that picture looks somewhat cartoony, it also looks faded and somewhat digitized. To get a real cartoon effect, we need more solid colors and less gradients. This somewhat more involved method will help us get a bit closer to successfully cartoonizing our photo.
- Load your photo, make sure you’re in RGB mode (Image > Mode > RGB Color), and then duplicate your layer. Name the duplicate “outline” and the original “original.”
- Select the outline layer, and browse to Filter > Blur > Smart Blur. Set the radius between 9 – 11 and the threshold between 32 – 34. For some images, you’ll need to play around with more extreme ranges. In this example, we used 9 and 33. The quality should be set to high and the mode normal.
- You’ll notice a blurred image, similar to the Gaussian approach in the easy method. Next, we’re going to want to sharpen the edges. Browse to Filter > Sharpen > Sharpen Edges. This edge outline is what creates the final “solid” cartoon-style stroke outline we’re looking for in this approach.
- Next, browse to Filter > Other > High Pass and set the radius to 2.0 pixels. You can adjust this radius slightly if you find your cartoon image having too many uniform or dark areas – ie. color blending.
- Finally, browse to Image > Adjustment > Threshold and find a setting that gives you good lines, but not too much noise. Usually the ideal number will fall somewhere between 125 and 128. In this particular example we use 126. Depending on settings you change for blur and high pass, you may find yourself going as low as 120 for this adjustment threshold.
- The final step is to select all the white area by using the magic wand to select a section of white and then browsing to Select > Similar. Hit the delete key to delete the white area. What you’ll be left with is an overlay of the effects on your outline layer on top of your original layer. Deselect the outlines by clicking outside the canvas or using Ctrl + H before proceeding to the next step.
- Finally, select the original layer one last time, and repeat the smart blur described above. You may want to lower your settings for this second smart blur, or omit this step entirely, depending on how cartoony your image already looks. We used the same settings on smart blurring our original layer as we did our outline layer.
That’s all she wrote. Pat yourself on the back for a job well done and have fun writing your next cartoon strip 😉 Oh yeah, here’s what our final cartoon photo looks like:

I think you’ll agree that there’s quite an advantage over this method to the more simple one outlined above. The outlines are more defined with this cartoonizing approach, and the colors are more solid, giving an overall more cartoon-like effect.
Try out your techniques and please comment below with feedback/ suggestions, and any additional tips/ tricks you might have learned while experimenting around with the settings.
Looking For The Best Photo Editing Software?
We’ve published a comprehensive review of many of the most popular platforms, comparing solutions like Photoshop, Paint Shop Pro, GIMP, Adobe Lightroom, BeFunky, and more. Also check out our dedicated Photoshop Review.
Did it work? Which solution did you use? Let us know in the comments!