When you purchase through links on our site, we may earn a commission. Here’s how it works.

Why Images For Your Content Matter
An article with compelling images averages 94% more total views than one without. If that wasn’t enough, research by MDF Advertising indicates that our brain processes visual content 60,000 times faster than text. So, visuals should be a large part of your content marketing strategy in order to make a big impact on your audience, captivate new fans and increase engagement and shareability.
5 Best Practices For Creating Images
Next time you upload an image (whether or not it is for your blog, social media or website) remember to follow these tips to best showcase your content and brand.
1. Use Proper Dimensions
The goal for image dimensions for social media is to occupy the maximum amount of real estate allowed by social networks, thus increasing content exposure on your fans’ news feeds while generating more impressions and possibly more click-throughs. For instance, if a proper dimension is not used, expect your image to end up in a small box at the left side of the screen and possibly even cropped or distorted. (See below).
We recommend sticking to the image dimensions that the social networks suggest and provide to make sure nothing gets cropped out of view. Here’s a list of social media dimensions (in pixels) for the most popular social networks.
2. Make Your Own Image
The same way Google rewards original content with better rankings, original images on social media have the same impact on how social networks algorithms determine their visibility. Brands that actually create the content (thus, content originators) are the ones that experience the most value. See our example below of creating a branded image to promote our site content.
By making your own images you not only showcase yourself as an expert in your industry but you also give yourself a chance to break through the noise created by the thousands of pages reporting the same stories.
3. Branding & Brand Guidelines
Branding an image refers to adding your brand’s logo on your original image or graphics (see above). It helps to prevent other users from stealing your work without giving you credit. In fact, even if they download your image and post it as their own, your logo will still be there. It’s also extremely important to adhere to your brand guidelines, as they provide the parameters that give your audience a sense of your brand’s identity, voice and style.
Be consistent in using your brand’s or business’ colors, fonts and tone of voice. As you become a master in designing your own branded images, you’ll be able to implement your own spin of creativity on the images you create without worrying so much about deviating slightly from your established brand guidelines.
4. Get Creative
We know sometimes it’s hard to find an image to represent an article, so designing them from scratch can often help alleviate this problem. It can also be a big money saver if you don’t have the budget to buy stock photos for every article (if you are looking for stock images, check out our stock photography site comparison).
Here at We Rock Your Web, we use tools like Canva, a great “freemium” tool for creating outstanding, professional-looking images, ranging from infographics to PowerPoint presentations for Slideshare. Microsoft Word or Photoshop are also great tools to create remarkable images. You may even surprise yourself (and your boss!) with how much you can do.
There are two options you can take with this approach. The first is adding text to an existing stock image to be congruent with the subject it will represent. The second option is to make an image purely based on graphics (like the one below). It’s not only informative, it has the added benefit of originality, which we explained in tip number two (above).
5. Image Legality And Best Practices
Just because countless images roam the world wide web, that doesn’t mean they are all free to use. Don’t try to claim other people’s work as your own – this is against the law. Either take your own photos or use properly licensed stock images, creative common images (make sure the creative common agreement for your chosen image matches your usage plans), or if you share an image from someone else, make sure to use the share button and give credit.
If the share button is not available, be sure to give full credit by linking to the source of where you found the image and giving them a shout out! And, always add a photo credit watermark on the image itself (see above for example).
4 Tips for Optimizing Images For SEO
A beautiful photo is great for looks but it’s worthless if it’s doing more harm than good on the back-end. All images should be given just as much SEO consideration as visual. So, here are 4 tips to ensure your images are optimized from a search perspective too.
1. What’s In A Name?
A file name says a lot about an image. Images should be named with something descriptive and all lower case words separated by -‘s with no spaces or special characters (ex. dog-bone-on-grass.jpg). Often times the name of the image is a bunch of numbers and letters (ex. 090asdf8923sd408.jpg) or something completely unrelated to the photo (Billys-Photo-Album_0001.jpg). But would you name your article or website that? Probably not. Having a clean, consistent naming convention for your images is absolutely key to having an optimized image and website.
2. Size Matters!
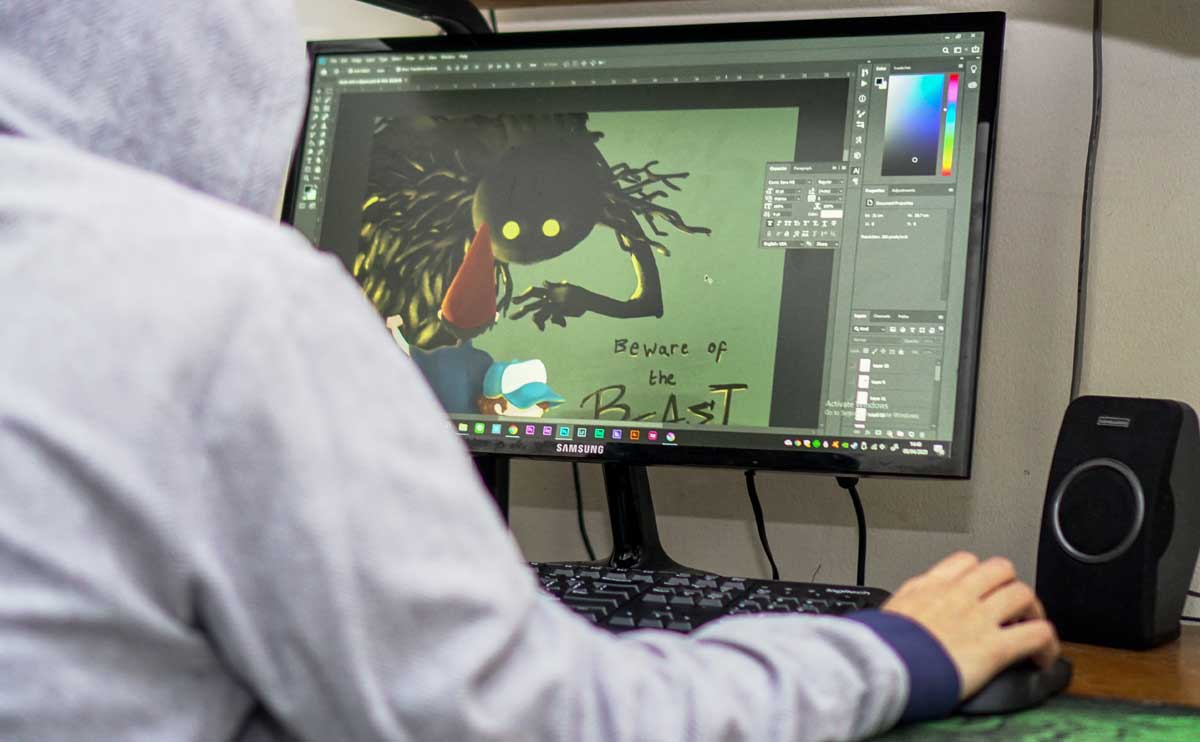
Almost as important (if not more) than the image name is the size of the image. In addition to using the correct dimensions (see tip #1 above) you must also consider the image file size. In this case, the smaller the better to help your page load speed. The larger the image, the longer the page takes to render and load your images, which readers hate (which may cause them to leave!) and search engines use as a key ranking factor for websites. Because readers have little patience, they will be frustrated and likely leave your site if the images take more than a nano-second to show up. So ideally, keep your images to a maximum of 50kb (if possible without making the image too grainy or blurry). To reduce the file size of an image you can use programs like Photoshop (as pictured in the example below) or free online tools like PicResize.
3. Alt Text Is Key
Short for “alternative”, alt text is basically the text that describes an image. Since Google and search bots cannot recognize photos (yet) the alt text tells them “hey, this is an image of a horse.” It also helps the reader by displaying this text if an image is broken or their page doesn’t quite load all the way (see example below). Alt tags should be as descriptive as possible (ex. “Mother holding child with blanket”). Alt tags are a must for image optimization and should be used with each and every article image.
4. Image Title Tags Matter Too!
While not as important as alt text, every image on your website should have what’s called a “Title Tag” which is another way to tell readers and search engines what your page is all about. It’s also the text that pops up whenever you hover over an image (see example below). Use similar guidelines to the article’s title and keep it short, sweet and use the key idea from the article if and when appropriate.
A Good Picture Is Worth 1,000 Shares
Now that you know the importance of designing good-looking images and optimizing them for search engines, it’s time to start designing your own to help boost the visibility of your website’s content. As the new saying goes, a picture is worth 1,000 words shares. So when creating images, keep in mind what would grab your attention – on the site and on social media – and your brand’s content will be shared in no time.
Jay Baer agrees and shares some thoughts on why images matter in one of his “Jay Today” videos.
Best Photo Editing Software
Now that you have a grasp on how to optimize your images, head on over to our photo editor comparison to see how the likes of Photoshop, GIMP, Paint Shop Pro, and others stack up in our review. If you want to learn more about Photoshop specifically, visit our individual review.
Got any of your own tips to create eye-catching images to share with our readers? Let us know in the comments!
Tagged With: Content Marketing


